
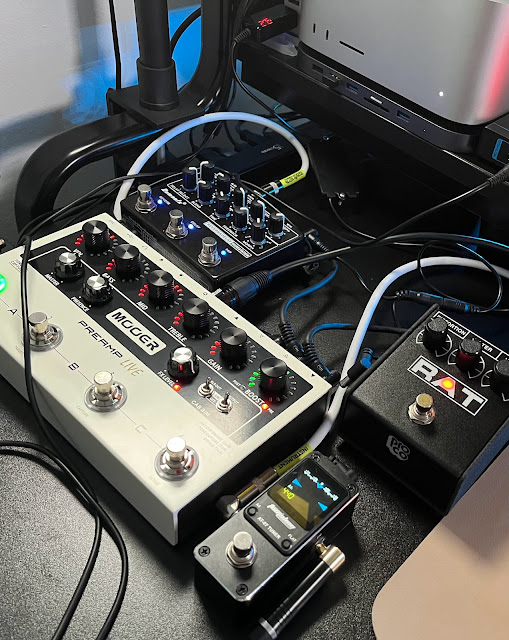
While finding my way back to playing electric guitar, I found myself buying a bunch of guitar pedals. After having collected a few, it started making a mess on my desktop, and it was time to get a pedalboard. The plan was to make a pedalboard as compact as possible so that I could use it on the floor but also fits and looks nice on top of my desk. Here's what it looked like on my desk without a pedal board. Look how messy the cables are.
I also bought 2 more pedals to complete all of the guitar usual guitar effects that most guitarists need and there I obviously no more space for those 2 more on my desktop.
I couldn't find the right pedal board that I was looking for, from browsing the internet. They are either too big or too small and usually not the right shape. So I decided to design my own.
I spent a night designing the pedal. It was designed to exactly fit the pedals I have so that no space is wasted. The design has to consider the spacing of the pedal to make room for the audio cables, TRS plugs, and power supply plugs. I created 4 different pedal layouts before I settled on the final one.
The first thing I did was model the boxes that serve as the placeholder for each pedal, arrange the pedal to my desired layout, and then design the pedal board around it.

I then set the opacity of these pedal placeholders to 30% and designed the pedal around it.

I then hid the placeholders and divided the object into smaller pieces that could fit inside my 3d printer bed. Et voila!

The 3D printing took almost 3 days, printing around 20 hours a day. Here are some photos of the 3D printing moments.


The pedals, as usual, are attached using velcro tapes. The cabling was done using a Solderless Guitar Patch cable to get a clean-looking cabling. You can get it from Amazon, link below.
Solderless Guitar Patch Cables Set
The whole board is powered through USB using a USB to 9V buck converter so it can be powered by a regular power bank.
USB Buck Converter from Amazon
Here is the final outcome of the project with the pedals attached and the cabling done.


Look how it fits nicely on my desk now!

Here are the pedals I used and feel free to build yours.
- Mooer PreAmp Live - Amp and Cab Simulator
- JOYO Vision Dual Modulation Effect Pedal
- ProCo RAT 2 Distortion Pedal
- DemonFX Reverb and Delay Workstation
- Sonicake VolWah Volume and Wah Pedal
- TomsLine AT-07 tuner (I will be replacing this with Polytune 3 mini)
I don't usually use guitar amps. You can plug the mooer preamp live to the Return input of any amp and turn off the cab simulator. In this setup, you have all the controls on the Preamp-live and you are only using the power amp section of your amp. This ensures your pedal setup will sound more or less the same regardless of which amp you use or which studio you playing in.
Or you can plug the XLR output of the Mooer pre-amp live directly into a mixer or an audio interface.
Happy 3D printing!


